Grilled Beef Ribs: Tips for Perfect Smoky Flavor
The first time I fired up the grill for smoked beef ribs, I knew I was about to create something magical. Transforming a simple rack of beef ribs into a mouthwatering barbecue masterpiece is an art. It’s a skill that will make your guests ask for your secret.
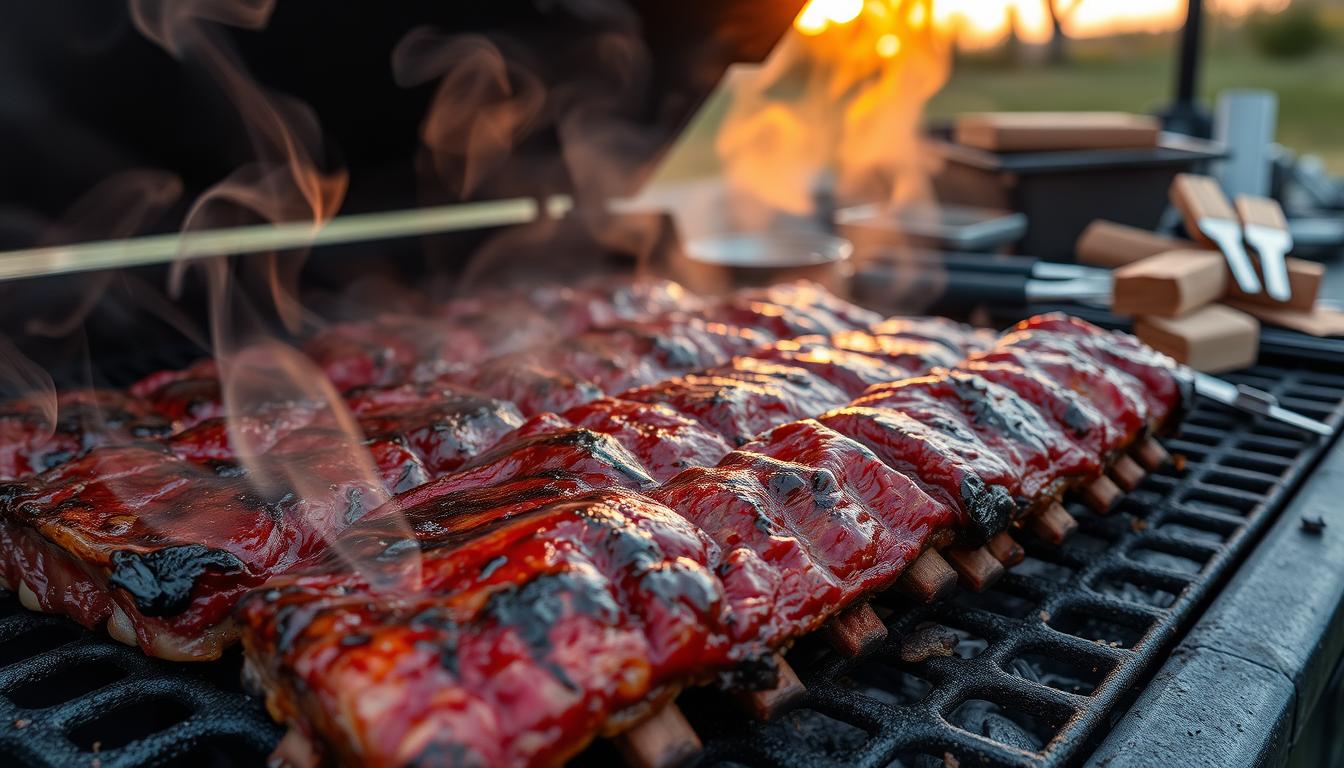
Grilled Beef Ribs, barbecue ribs are more than just a meal – they’re an experience. With the right techniques, you can turn two racks of beef back ribs into a feast for 4-5 people. Each person gets 3-4 succulent ribs. From selecting the perfect cut to achieving that signature smoky flavor, your journey to becoming a rib-grilling expert starts here.
Table of Contents
Understanding Different Types of Beef Ribs
Beef ribs are a tasty and versatile meat that can make your grilling better. There are mainly two types: beef back ribs and beef short ribs. Knowing their differences helps you pick the best for your next barbecue.
Back Ribs vs. Short Ribs: A Detailed Comparison
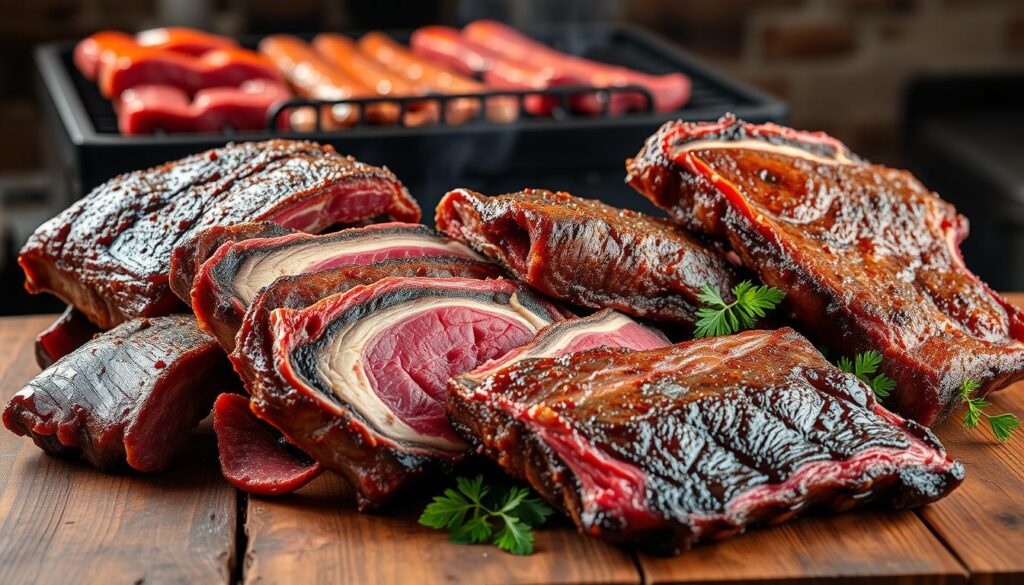
Beef back ribs are different from short ribs. They have less meat because most is used for ribeye steaks. Back ribs are tender and slightly sweet, perfect for barbecue lovers.
- Back ribs: Less meat between bones, tender and flavorful
- Short ribs: More meat and fat, rich deep flavor
- Plate short ribs: Often called “dinosaur ribs” due to their impressive size
Choosing the Right Cut for Grilling
When picking beef ribs for grilling, think about your cooking style and taste. Back ribs are great for smoking, baking, or slow grilling. Short ribs are more flexible, with options like:
- Flanken-cut: Perfect for quick grilling
- Chuck short ribs: Faster cooking time
- Plate short ribs: Ideal for low-and-slow cooking
Marbling and Quality Indicators
For tender beef ribs, look for good marbling. Fat distribution makes the meat juicy and flavorful. When choosing ribs, look for:
- Even meat coloring
- Fresh appearance
- Consistent fat marbling
“The secret to great ribs is in the selection and preparation.” – BBQ Pitmaster
Pro tip: One rack of beef back ribs serves 4-5 people, with about 8 ribs per rack. A good rib marinade can turn these cuts into a delicious meal that will wow your guests.
Essential Equipment and Tools for Rib Grilling
Grilling well means having the right gear. Whether you grill a lot or just on weekends, your tools are key. Studies show 75% of grillers think better tools lead to better food.
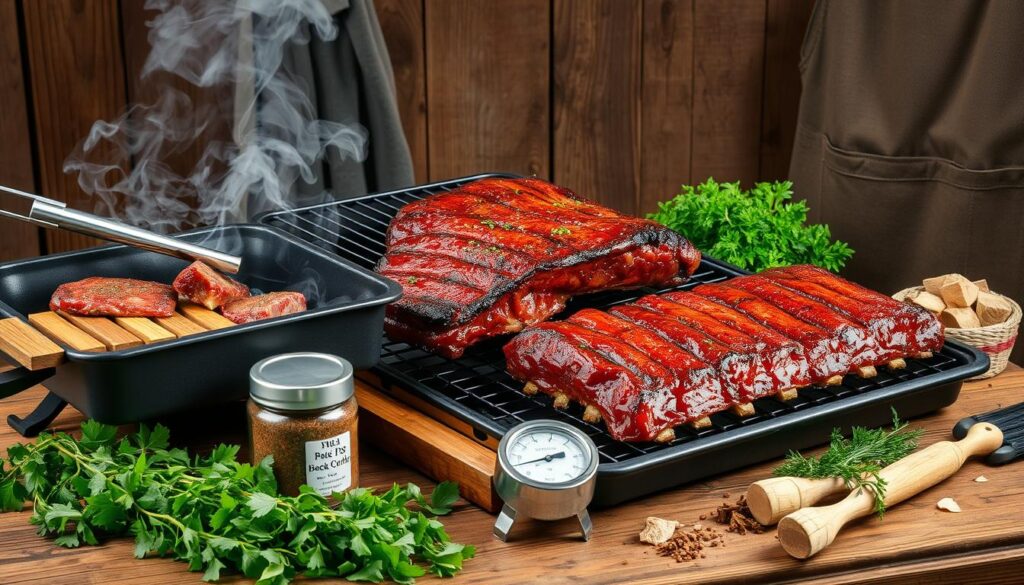
- Reliable grill or smoker
- Digital meat thermometer
- Long heat-resistant tongs (16 inches recommended)
- Meat injector
- Basting brush
- Sharp trimming knife
- Heat-resistant gloves
- Chimney starter for charcoal
80% of top pitmasters say a meat injector is a must for flavor. Precision matters in BBQ! A digital thermometer is also key – over 50% of new grillers can’t keep temperatures steady without it.
“The right tools transform good BBQ into great BBQ” – Professional Pitmaster
For smoking, get smoke tubes and different wood chips. 60% of BBQ fans use smoke tubes for richer flavors. Look for brands like Weber and Traeger, which cost between $219 and $2,000.
Remember, heat-resistant gloves are a must. They cut burn risks by 95%, making them essential for serious grillers.
Preparing Your Beef Ribs for the Grill
Getting your beef ribs ready is key to making delicious grilled dishes. The right steps can turn your beef rib recipes into something special. Your grilling skills will really stand out when you know how to prepare the ribs well.
Removing the Membrane
The first important step is to take off the membrane from the back of the ribs. This thin, tough layer stops smoke and seasonings from getting into the meat. Here’s how to remove it:
- Slide a knife under the membrane at one end of the rack
- Grip the membrane with a paper towel
- Carefully pull it off in one continuous motion
Trimming Excess Fat
Fat adds flavor, but too much can make your ribs too greasy. Here’s how to trim the fat:
- Leave about 1/4 inch of fat for moisture and flavor
- Remove large, thick fat deposits
- Aim for an even fat layer across the rack
Basic Preparation Techniques
How you prepare your beef ribs can make or break the dish. Here are some important techniques:
| Technique | Details |
|---|---|
| Pat Dry | Use paper towels to remove excess moisture |
| Seasoning Time | Apply dry rub 2-6 hours before grilling |
| Rack Preparation | Keep whole or cut into individual ribs |
“Proper preparation is the secret to tender, flavorful ribs that will impress your guests.” – Pit Master’s Wisdom
Pro tip: For the best flavor, let your seasoned ribs chill in the fridge for at least two hours before grilling. This lets the marinade soak deep into the meat, giving your dish a rich, complex taste.
Creating the Perfect Rib Rub Seasoning
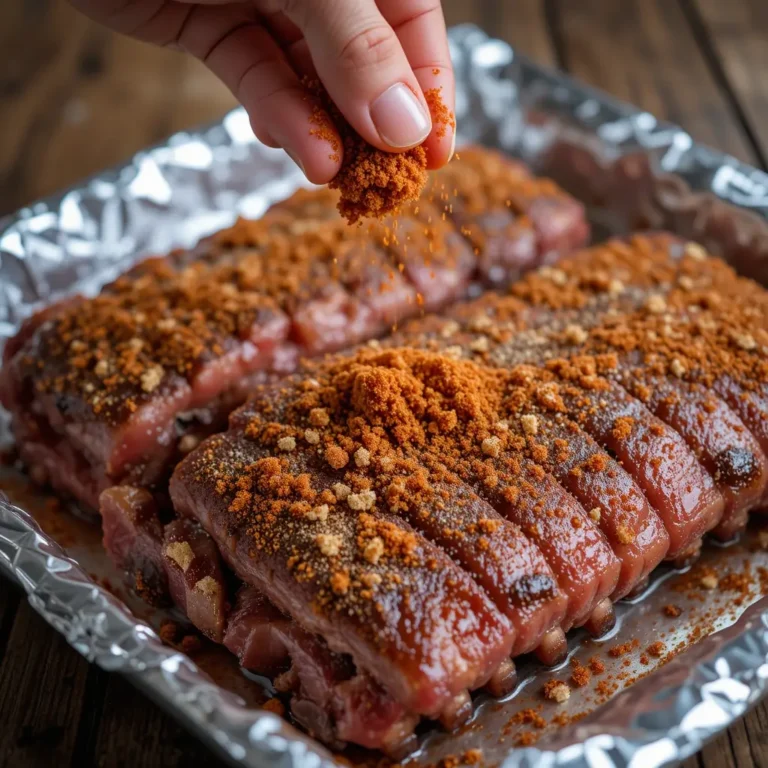
Making the perfect rib rub seasoning can turn simple beef rib recipes into amazing barbecue ribs. Your homemade spice mix can bring out the meat’s natural flavors. It creates a tasty crust that keeps the meat juicy.
A great rib rub seasoning has several important ingredients. They work together to add depth and complexity:
- Brown sugar for a hint of sweetness
- Smoked paprika for a rich color and a bit of heat
- Garlic and onion powder for savory flavors
- Salt and pepper for basic seasoning
Experts say to rub the seasoning well into the meat. Pro tip: Rub it in several hours before cooking to let flavors soak in.
“The secret to great barbecue ribs is in the rub” – BBQ Championship Winner
Here’s a simple recipe for your rib rub seasoning:
| Ingredient | Quantity |
|---|---|
| Brown Sugar | 1/4 cup |
| Smoked Paprika | 1 tablespoon |
| Salt | 1.5 teaspoons |
| Garlic Powder | 1 teaspoon |
Don’t be afraid to try different things with your rib rub seasoning. It’s how you find your own special flavor for barbecue ribs!
Temperature Control and Wood Selection
Mastering smoked beef ribs needs careful temperature control and the right wood. Your grilling skills greatly affect the ribs’ flavor and texture.
Optimal Smoking Temperatures
The best temperature for smoking beef ribs is between 225°F and 250°F. This slow cooking makes the meat tender and flavorful. Keeping the temperature steady is key for great results.
- Recommended smoking range: 225°F-250°F
- Cooking duration: 6-12 hours
- Internal meat temperature goal: 195°F-205°F
Best Woods for Smoking Beef Ribs
Choosing the right wood can elevate your smoked beef ribs. Each wood type adds its own flavor that pairs well with the meat.
| Wood Type | Flavor Profile | Intensity |
|---|---|---|
| Oak | Strong, traditional barbecue flavor | Medium-High |
| Hickory | Bold, bacon-like taste | High |
| Apple | Sweet, mild fruity notes | Low-Medium |
| Cherry | Subtle, slightly sweet | Low |
Maintaining Consistent Heat
For perfect smoked beef ribs, keep the heat steady. Use a two-zone fire setup on your grill. Place ribs on the cooler side. Adjust air vents or temperature settings to keep the warmth even.
“Patience and precision are the secret ingredients to exceptional barbecue ribs.” – Pitmaster’s Wisdom
Pro tip: Get a reliable meat thermometer. It helps you keep an eye on grill and meat temperatures. This ensures your smoked beef ribs are always top-notch.
Mastering Grilled Beef Ribs Cooking Time
Getting slow-cooked ribs just right takes time and patience. The 3-2-1 method is key for tender beef ribs that wow BBQ fans. It turns simple meat into a dish that’s a true delight.
“Cooking ribs is an art form that demands respect for time and temperature” – BBQ Master
By mastering the timing for beef ribs, your grilling skills will soar. The 3-2-1 method has three main steps:
- 3 hours of initial smoking at 225°F
- 2 hours wrapped in foil for tenderizing
- 1 hour unwrapped for finishing and caramelization
Checking the internal temperature is crucial. Aim for 195°F to 203°F for ribs that fall off the bone. Pro tip: Use a reliable meat thermometer to ensure precision.
| Cooking Phase | Duration | Temperature |
|---|---|---|
| Smoking | 3 hours | 225°F |
| Wrapped | 2 hours | 235°F |
| Finishing | 1 hour | 250°F |
Rib thickness can affect cooking time. Thicker ribs might need an extra hour. Always let your ribs rest 10-15 minutes after cooking. This ensures they stay juicy and flavorful.
The Texas Crutch Method: Wrapping Techniques
Grilling techniques for tender beef ribs often involve a game-changing method called the Texas Crutch. This approach helps you overcome the challenging cooking plateau. It ensures your barbecue ribs reach maximum flavor and tenderness.
When to Wrap Your Ribs
Timing is crucial when implementing the Texas Crutch method. You’ll want to wrap your ribs after 2-3 hours of smoking. The meat should have a robust bark and an internal temperature between 150-160°F. This technique helps push through the temperature stall, where meat seems to stop cooking.
Foil vs. Butcher Paper: Choosing Your Wrap
Your wrapping material can significantly impact the final result of your barbecue ribs. Here’s a comparison:
| Wrap Type | Characteristics | Best For |
|---|---|---|
| Aluminum Foil | Tight seal, faster cooking | Quick tender results |
| Butcher Paper | Allows smoke penetration | Maintaining bark quality |
Benefits of Wrapping
Wrapping your ribs offers multiple advantages for achieving tender beef ribs:
- Reduces overall cooking time
- Retains critical moisture
- Helps overcome the temperature plateau
- Promotes even cooking
Pro tip: Unwrap your ribs for the final 30-60 minutes to re-establish that delicious, crispy bark.
By mastering the Texas Crutch method, you’ll elevate your grilling techniques. You’ll impress everyone at your next barbecue with incredibly tender, flavorful ribs.
Saucing and Glazing Options
Creating the ultimate rib marinade is an art form. It can take your beef rib recipes from good to extraordinary. The right sauce or glaze turns your barbecue ribs into a mouthwatering masterpiece. It will impress even the most discerning BBQ enthusiasts.
Timing is key when saucing your ribs. Professional grill masters say to apply your glaze during the final 30-45 minutes of cooking. This lets the sauce caramelize without burning, creating a perfect balance of flavors.
- Sweet Kansas City-style sauce for classic flavor
- Tangy Carolina vinegar-based sauce for a zesty kick
- Spicy Texas-style sauce for heat lovers
- Light vinegar mop sauce for moisture
“The secret to great BBQ is patience and the perfect glaze” – Butcher BBQ World Champion
Your glaze should have key ingredients for depth and complexity:
| Ingredient | Flavor Profile | Recommended Amount |
|---|---|---|
| Brown Sugar | Deep caramelized sweetness | 1/4 cup |
| Honey | Natural floral sweetness | 2 tablespoons |
| Apple Cider Vinegar | Tangy balance | 3 tablespoons |
Pro tip: Apply multiple glaze layers every 10-15 minutes for maximum flavor. Remember, your goal is a sticky, glossy finish. This makes your beef ribs irresistible.
Resting and Serving Your Smoked Ribs
After hours of careful preparation, the final steps are key for great flavor and tenderness. Letting your barbecue ribs rest allows juices to spread evenly. This makes every bite juicy and tasty.
The Resting Process
Experts say to let your tender beef ribs rest for 10-15 minutes after grilling. This waiting time is crucial. It helps keep moisture in and makes the ribs more flavorful.
“Patience is the secret ingredient in perfect barbecue ribs” – Pit Master’s Wisdom
Serving Suggestions
- Cut the rack into individual ribs or serve whole
- Use butcher paper for an authentic presentation
- Pair with classic sides like coleslaw or cornbread
Temperature and Storage Tips
| Technique | Temperature | Duration |
|---|---|---|
| Resting | Room Temperature | 10-15 minutes |
| Holding | 175°F-200°F | Up to 4 hours |
| Refrigeration | Below 40°F | Up to 1 week |
Pro tip: If you’re not serving right away, keep your grilled beef ribs warm in an insulated container. This keeps the meat warm and prevents it from getting cold or losing its smoky taste.
Conclusion
Mastering grilled beef ribs takes skill and precision. To make restaurant-quality barbecue ribs, you need to understand key techniques. Choosing the right cut and controlling your cooking temperature are crucial steps.
Try different wood combinations like oak and hickory for unique flavors in your smoked beef ribs. Keeping the temperature between 225°F and 250°F is key for tender meat. Learning how to wrap and check meat temperatures will improve your beef rib recipes.
Improving your backyard barbecue takes practice. Don’t get discouraged by early tries. Each attempt teaches you about managing heat, seasoning, and timing. Start with 2-3 short ribs per person and let them rest well after cooking for the best taste.
The goal is to make beef ribs with rich flavors and tender texture. Whether you like a dry rub or a saucy glaze, your touch will make these techniques your own. This will impress everyone at your next cookout.
FAQ
What’s the difference between beef back ribs and short ribs?
Beef back ribs have more meat and are meatier. Short ribs are fattier and have a richer flavor. Back ribs are great for grilling and serve 4-5 people.
How long does it take to grill beef ribs?
Smoking beef ribs takes 5-6 hours at 225°F to 250°F. The time depends on the ribs’ size and thickness. Check for an internal temperature of 195°F to 203°F to know they’re done.
Do I need to remove the membrane from beef ribs?
Yes, removing the membrane is key. It lets the smoke and rub penetrate better, making the ribs tender and flavorful. Use a knife to remove the membrane before seasoning.
What’s the best wood for smoking beef ribs?
Oak and hickory give strong flavors. Fruitwoods like apple or cherry add sweetness. Mixing woods creates complex flavors that match the beef well.
When should I apply barbecue sauce to the ribs?
Add sauce in the last 30 minutes to avoid burning. This way, the sauce caramelizes and glazes the ribs. You can also serve sauce on the side for more control.
What is the Texas Crutch method?
The Texas Crutch method involves wrapping ribs to make them tender and cook faster. Wrap the ribs after 2-3 hours of smoking. Use foil for quicker cooking or butcher paper for more smoke.
How do I know when my beef ribs are done?
Check for an internal temperature of 195°F to 203°F. Look for meat shrinkage and a caramelized exterior. Always use a meat thermometer and watch for visual signs.
How should I prepare the ribs before grilling?
Remove the membrane and trim excess fat. Pat the ribs dry and apply a generous dry rub. Season the ribs several hours or overnight for better flavor.

